The Best Guide on How to Waterproof Your Basement Before Remodeling
Planning to remodel your basement? First, learn how to waterproof your basement before remodeling to prevent mold and damage. This guide covers essential steps to keep your basement dry.
Key Takeaways
- Waterproofing your basement is essential before remodeling to prevent mold growth, structural damage, and loss of property value.
- Identify and address water problems such as damp spots, mold, and odors before applying waterproofing methods to ensure effectiveness.
- Proper preparation, including sealing cracks, resealing windows, and ensuring exterior drainage, enhances the success of your waterproofing efforts.
Why Waterproofing is Crucial Before Remodeling
Before starting your basement remodeling plans, address basement waterproofing. Without proper waterproofing, you risk significant issues such as mold growth, structural damage, and a decrease in your property’s value. Imagine investing time and money into a beautiful finished basement, only to have it ruined by water damage. Prioritizing waterproofing can save you from these potential nightmares.
Investing in waterproofing before starting your remodeling project can lead to long-term savings. This isn’t just about preventing immediate issues; it protects your investment long-term. Proper waterproofing provides warranty and insurance benefits, ensuring that your basement remains a usable space for years to come.
Identifying Water Problems in Your Basement
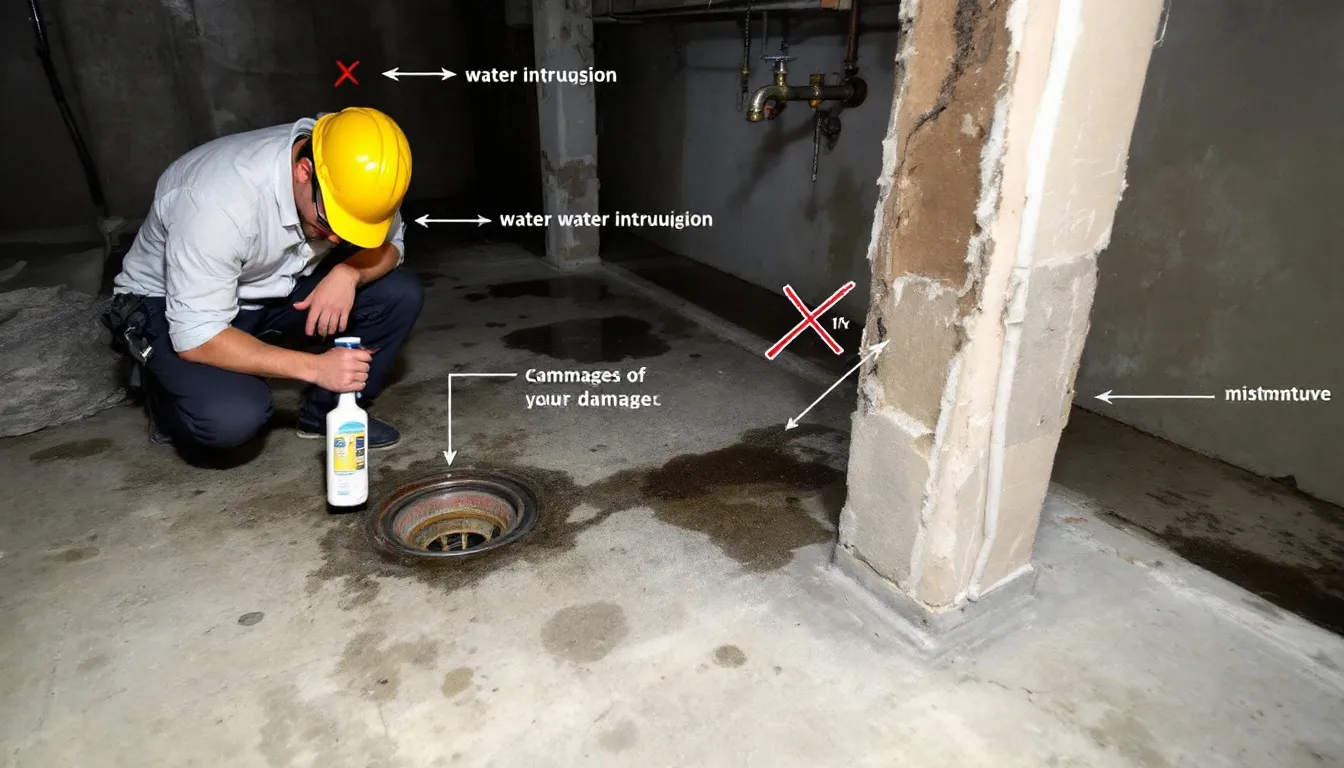
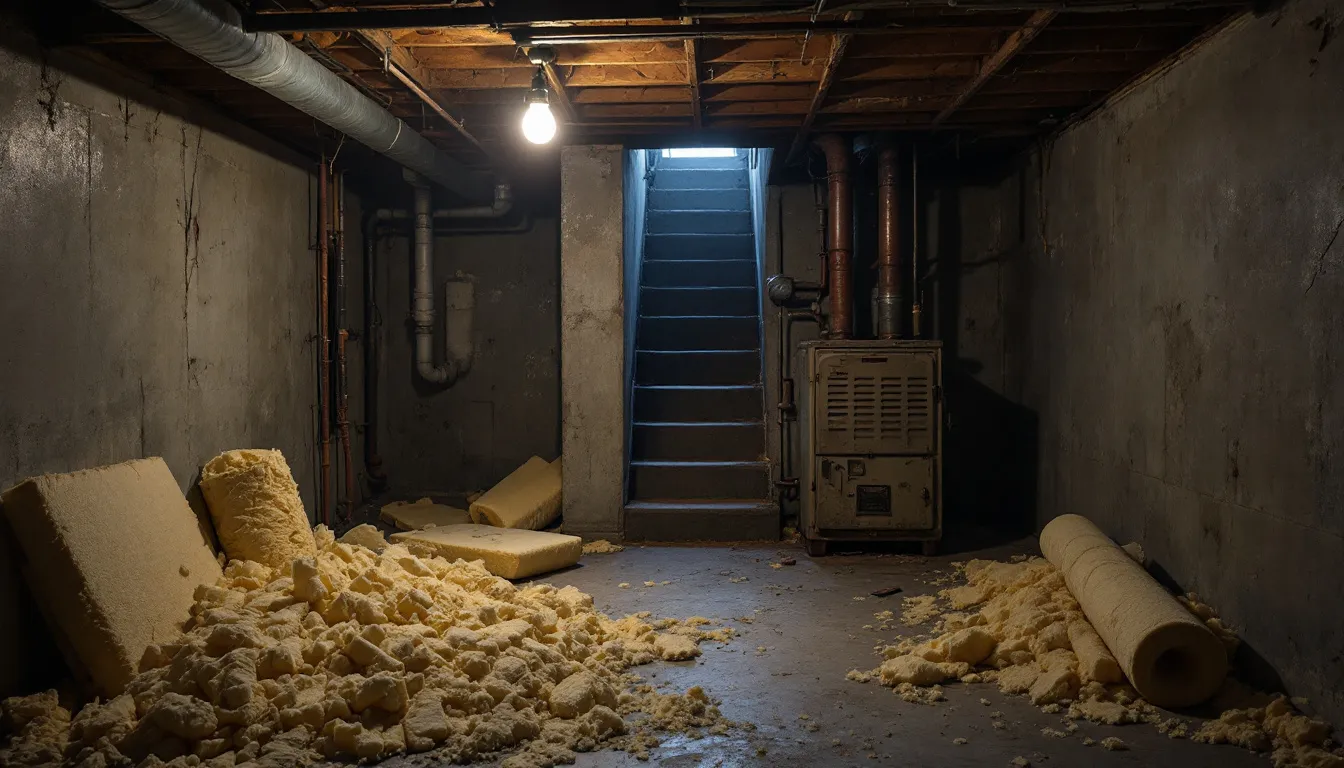
The first step towards a successful waterproofing project is identifying water problems in your basement. Common signs of water intrusion include damp spots on basement walls or floors, which can indicate water seepage. Mold growth in corners or on surfaces is another red flag, suggesting moisture issues that need to be addressed. Water stains on walls can signal past flooding or persistent leaks.
Musty odors are often a telltale sign of hidden moisture problems. These odors can stem from mold or mildew growing in unseen areas of your basement. Keep an eye out for other indicators, such as pooling water around the foundation, which suggests drainage issues.
Conduct a simple test to determine if your basement has a humidity problem or water seepage. Tape a square of aluminum foil to the wall for 24 hours. If condensation forms on the concrete-facing side, you have a water seepage problem. If condensation forms on the outside, it’s a humidity issue. Understanding the source of moisture is key to addressing it effectively.
Preparing Your Basement for Waterproofing
Proper preparation of your basement is necessary before applying any waterproofing products. This involves ensuring the basement is completely dry, cleaning and inspecting surfaces, and identifying moisture sources. Proper preparation will enhance the effectiveness of the waterproofing process and prevent future water damage.
Ensure a Completely Dry Basement
Before:
The first step in preparing your basement is to ensure it’s completely dry. First, use a pump to remove all standing water. Then, utilize fans and dehumidifiers to ensure the space is properly dried out. Any remaining moisture can interfere with the waterproofing process and conceal leaks.
After:
- Ensure your basement is completely dry.
- Use a pump to remove all standing water.
- Utilize fans and dehumidifiers to ensure the space is properly dried out.
Any remaining moisture can interfere with the waterproofing process and conceal leaks.
Discard any damp or moldy materials to prevent trapping moisture, which can lead to structural damage and ongoing mold growth. A dry basement sets the stage for successful waterproofing and a healthy living environment.
Clean and Inspect Surfaces
Next, clean and inspect all surfaces in the basement. Remove dust, grime, and any old coatings from the basement walls and floors to ensure optimal adhesion of waterproofing products. Efflorescence, the white, powdery deposits that can form on concrete surfaces, must be removed to ensure proper adhesion. Use a wire brush or muriatic acid to scrub away these deposits.
Remove any old paint or coatings that could interfere with the waterproofing paint process. A clean surface will allow waterproofing materials to bond effectively, providing a more durable and long-lasting seal.
Identify Moisture Sources
Effective waterproofing requires identifying the sources of moisture in your basement. Common sources include non-structural cracks in poured concrete basement walls. Look for signs of severe foundation issues, such as horizontal cracks or vertical cracks wider than 1/8 inch. These could indicate serious structural problems that need professional attention.
If you find damp or moldy materials, remove them immediately. Conduct tests to determine if the moisture is due to humidity or water seepage, such as the aluminum foil test mentioned earlier. Addressing these moisture sources ensures a dry basement and successful waterproofing.
Sealing Cracks and Holes
Sealing cracks and holes in your basement walls is a critical step in the waterproofing process. Use hydraulic cement to fill larger cracks and holes, as it sets quickly and provides a strong, durable seal. Thoroughly clean the area with a wire brush to ensure proper adhesion before applying any sealant.
For smaller cracks, use silicone caulk or masonry crack filler. Products like Fast Plug are known for creating a waterproof seal within minutes of application. Sealing these cracks and holes prevents water seepage and protects your basement from future damage.
Resealing Windows and Doors
Resealing windows and doors is a key step in the waterproofing process. Use silicone caulk or expanding foam to seal around windows and doors, preventing water intrusion. Pay special attention to window wells, especially around egress windows, as they are common entry points for water. Proper sealing will enhance the overall effectiveness of your waterproofing efforts.
Applying Waterproof Coating
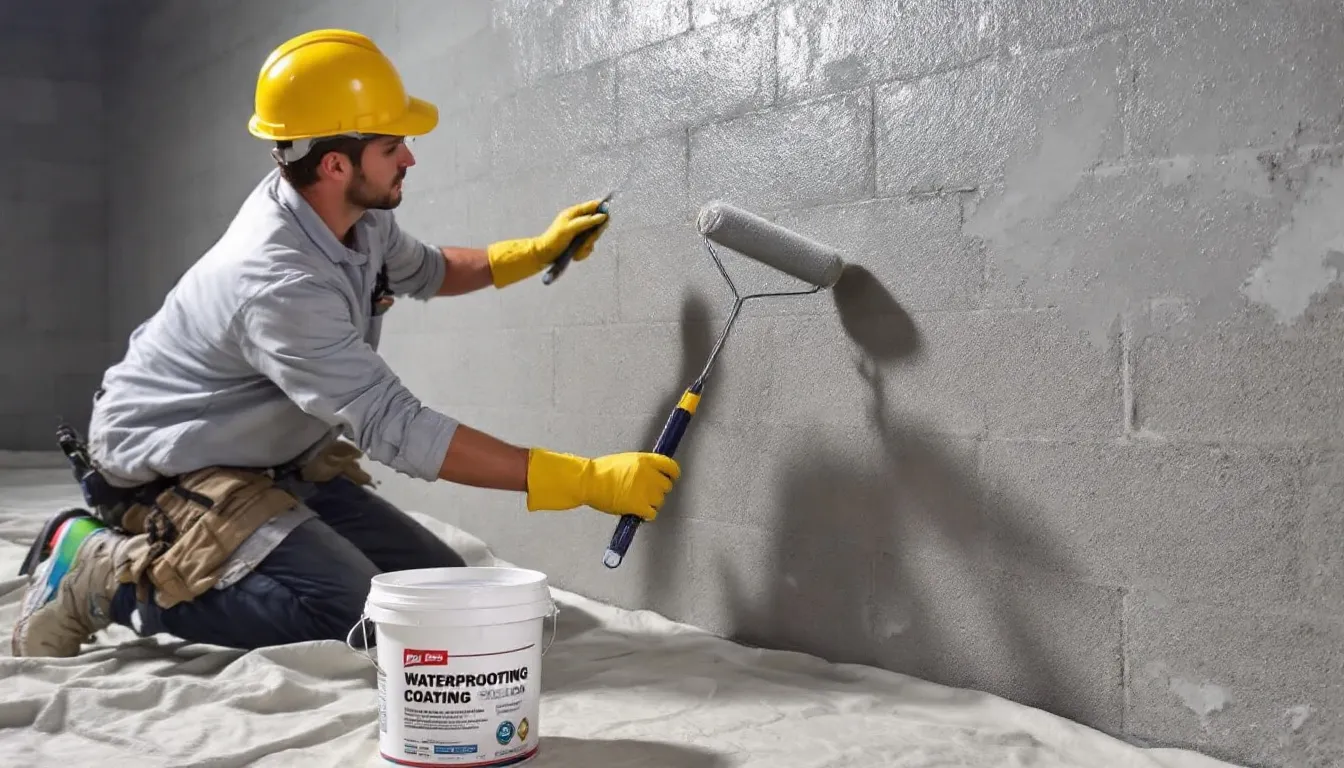
A waterproof coating on your basement walls and basement floor adds an extra layer of protection against water intrusion. Before applying the coating, ensure the surfaces are clean and free of mold or debris. Use a ¾ inch nap roller or a nylon bristle brush to apply the waterproof coating for the best results.
Let the first coat dry for two to three hours. After it has dried, you can apply a second coat. After the waterproof sealer has dried, inspect the areas for any pinholes and address them as needed.
A thorough application of exterior waterproofing waterproof coating will help keep your basement dry and protect it from water damage.
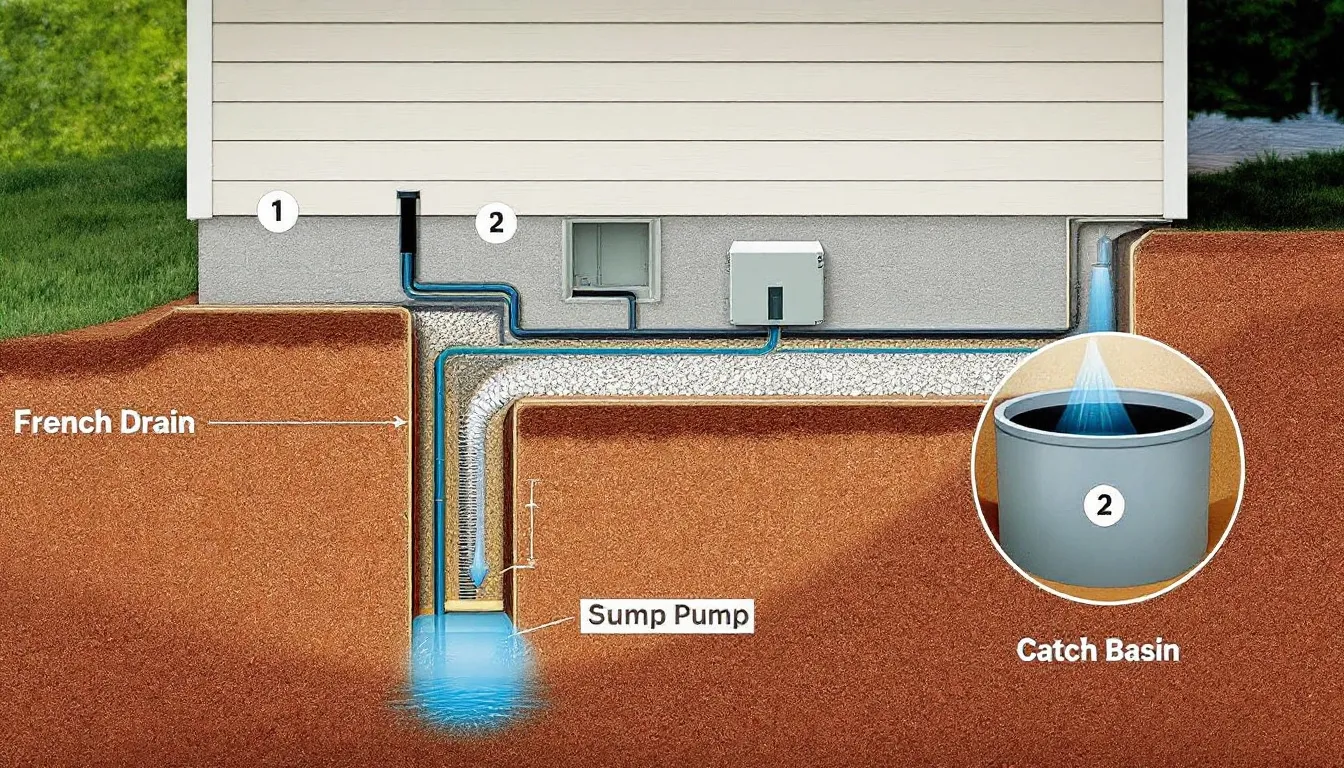
Installing a Sump Pump
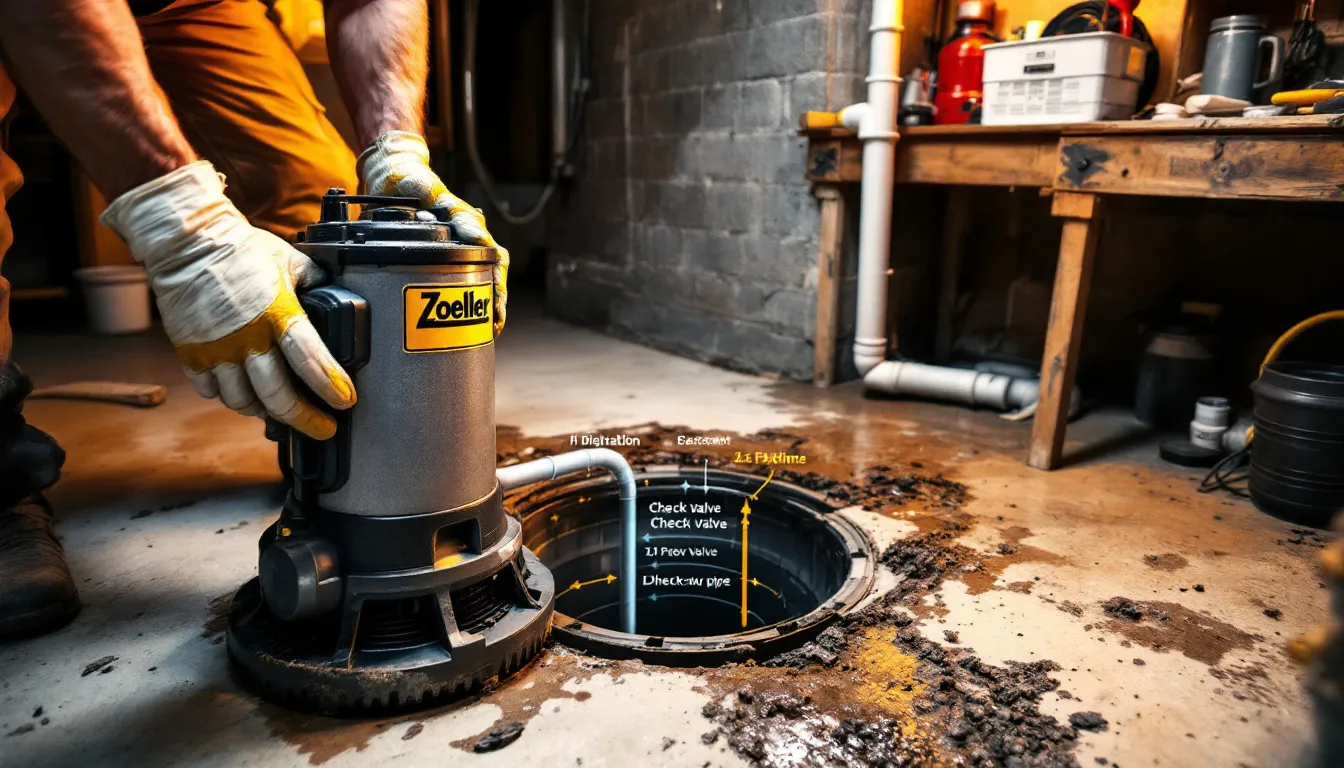
A sump pump effectively manages water seepage and prevents a wet basement. There are two types of sump pumps: pedestal and submersible. Pedestal sump pumps have the motor above the water, making them easier to install and maintain. They are also more affordable and have a longer lifespan because the motor is protected from water damage.
Make sure the sump pump’s discharge pipe directs water away from the foundation to keep it from re-entering the basement. Regular testing and maintenance ensure the sump pump functions correctly when needed.
Selecting the right sump pump with the appropriate horsepower for your basement’s water intake needs is essential for effective water management.
Ensuring Proper Exterior Drainage
Good exterior drainage is crucial to keeping water out of your basement. Make sure the ground around your foundation slopes away from the house. Maintain gutters and downspouts, ensuring they are in good repair and free of clogs. Regularly check gutters to keep them clear of debris and functioning properly.
Regrading your lawn, cleaning gutters, and extending downspouts can significantly improve drainage and prevent water problems. Effective exterior drainage reduces hydrostatic pressure against your foundation, minimizing water intrusion risk.
Considering Professional Help
Although many waterproofing tasks can be handled by homeowners, some situations require professional help. Call a professional waterproofing contractor if DIY solutions aren’t sufficient or if significant issues are discovered. Severe moisture problems may require specialized equipment and techniques that professionals can provide.
Complex solutions like French drains or drainage system drain tile systems often require professional expertise.
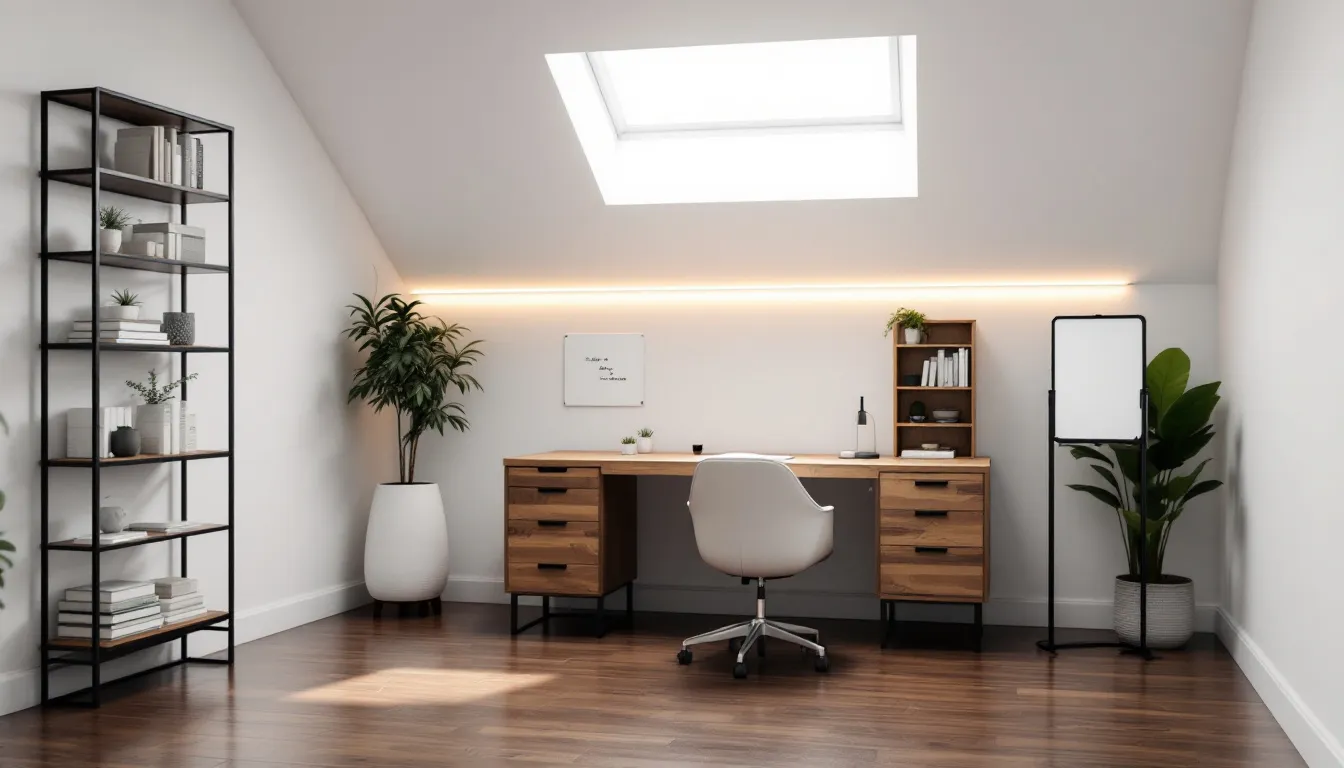
Enhancing the Basement Space
Once your basement is waterproofed, it’s time to enhance the livable space. Adding egress windows not only provides an emergency exit but also enhances natural light and ventilation. Proper sealing of windows and doors improves energy efficiency by controlling air leaks.
Maintaining gutters and downspouts is essential for effective water management. Ensure they are functioning properly to direct water away from the foundation. With a dry, well-sealed basement, you can confidently transform the space into a livable area, adding value and comfort to your home.
Summary
In summary, waterproofing your basement before remodeling is essential to protect your investment and create a safe, usable space. From identifying water problems and preparing your basement to sealing cracks and installing a sump pump, each step is crucial for effective waterproofing. By following these guidelines, you can ensure a dry and beautiful basement that stands the test of time.
Ready to work with Basement Remodeling Long Island?
Let's connect! We’re here to help.
Send us a message and we’ll be in touch.
Or give us a call today at 646-801-1701
Agency Contact Form
More Marketing Tips, Tricks & Tools