How to Plan Your Basement Remodel From Start to Finish: The Ultimate Step-by-Step Guide
Wondering how to plan your basement remodel from start to finish? This guide will walk you through every step—assessing the current space, setting a budget, getting permits, and tackling moisture issues. You’ll also learn about designing, framing, electrical work, and adding final touches. Let’s dive in!
Key Takeaways
- Start your basement remodel with a thorough assessment of the space, identifying structural issues and defining your goals to ensure a successful renovation.
- Create a detailed budget that includes all costs and permits, allowing for unexpected expenses, to stay on track financially during your remodel.
- Pay careful attention to moisture control and insulation, as these factors are crucial for maintaining a comfortable and durable basement living space.
Initial Planning and Assessment
The first step in any successful basement renovation is a thorough assessment of the current state of your space. Take a close look at the existing structural elements, including plumbing and wiring. Identifying potential issues early on helps avoid costly surprises later.
While assessing your basement, be vigilant for signs of moisture or necessary repairs, as moisture issues can wreak havoc on your remodel if not addressed from the start. Look for mold, condensation, or damp spots on walls and floors.
Next, define your goals for the remodel. How do you intend to use the new space? Whether it’s a family room, a guest room, or a home gym, having a clear vision will guide your decisions throughout the process.
Finally, create a rough layout of your desired space. Sketching out a basic floor plan can help you visualize how the finished basement will function and ensure that your design meets your needs.
Setting a Realistic Budget
Creating a comprehensive budget is a critical step in your basement remodel journey. Your budget should include all necessary elements like materials, labor, and permits. Don’t forget to account for unexpected issues that might arise along the way.
The typical cost for a basic basement remodel ranges from $65,000 to $75,000, while high-end renovations can exceed $180,000. The final price will depend on factors such as the size of your basement, the quality of materials you choose, and the intended use of the space.
Include a contingency of 10-20% in your budget to cover unforeseen costs, providing a safety net and preventing financial strain from unexpected problems.
Factoring in the cost of permits is important to avoid legal complications and increased expenses. Including all necessary permits in your budget can prevent future headaches.
Managing costs can be easier by breaking down the renovation into phases and purchasing materials in bulk, making the project more manageable and affordable.
Acquiring Necessary Permits
Before starting construction, check local building codes and zoning requirements to determine if a permit is needed for your basement remodel. Ignoring this step can lead to significant risks, such as being forced to tear out work and potential insurance issues. Necessary permits help avoid future costs and legal complications. It ensures your remodel complies with local regulations, giving peace of mind that your project is up to code.
Working with licensed contractors can simplify the permitting process. They are familiar with local regulations and can assist with the required paperwork, making the process smoother and more efficient with the local building department and a building inspector.
Typically, the cost of a building permit for basement renovations can vary, usually costing a few hundred dollars based on the size of the renovation. Including this in your budget will help you avoid any unexpected financial surprises.
Remember, acquiring permits is not just about compliance; it’s about ensuring the safety and longevity of your finished basement.
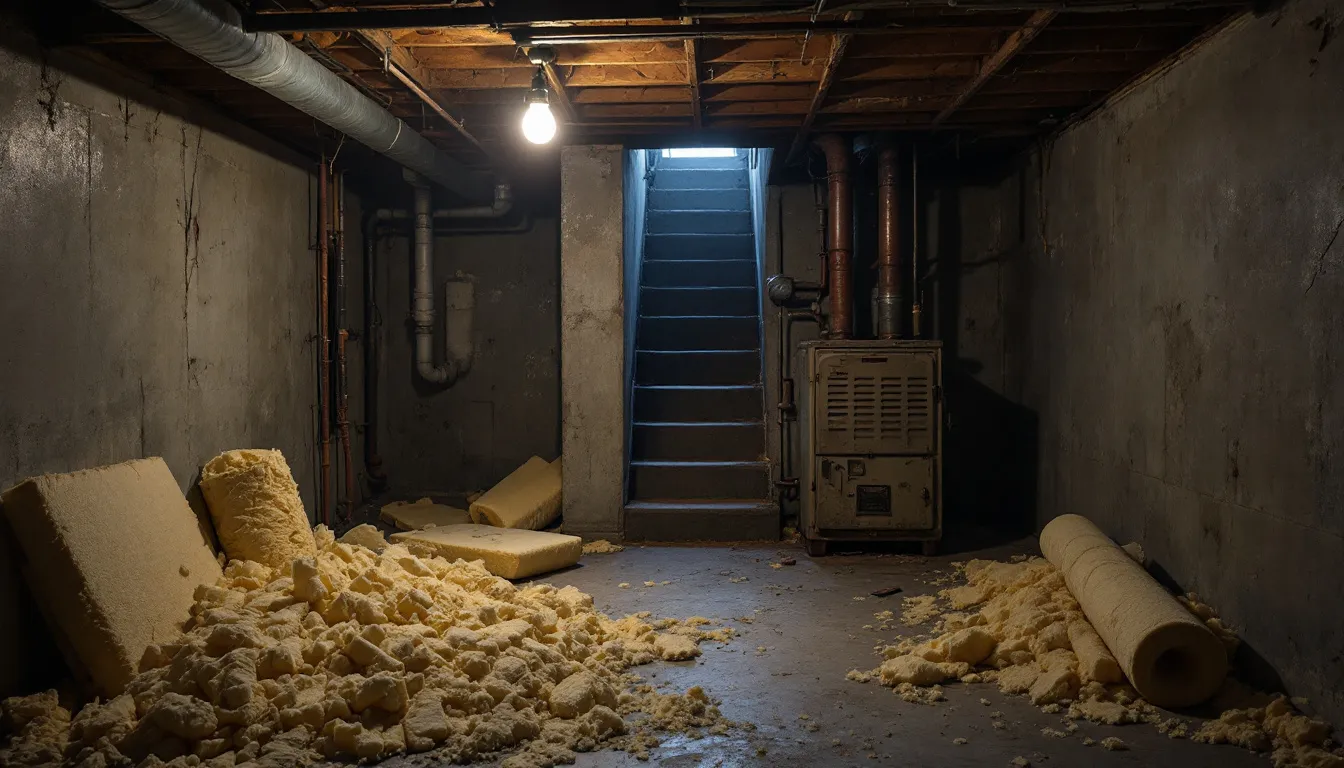
Addressing Moisture Issues
Moisture can undermine any basement remodel. Start by identifying the source of humidity, which could be from external sources like rainwater or internal sources like cooking and showering. Regular checks for signs of moisture, such as mold or condensation, aid in early detection of water issues, which is crucial for maintaining a dry basement environment.
There are several solutions for tackling a damp basement, including:
- Dehumidifiers: Powerful dehumidifiers can remove up to 95 pints of moisture daily, significantly reducing dampness.
- Sump pump
- Full basement waterproofing: Waterproofing treatments can help stop moisture from seeping into the basement.
- Vapor barrier: Consider using a vapor barrier to prevent moisture from block or concrete walls.
Conduct a moisture test using plastic sheeting to check for water seepage before insulating, ensuring a comfortable and livable basement environment.
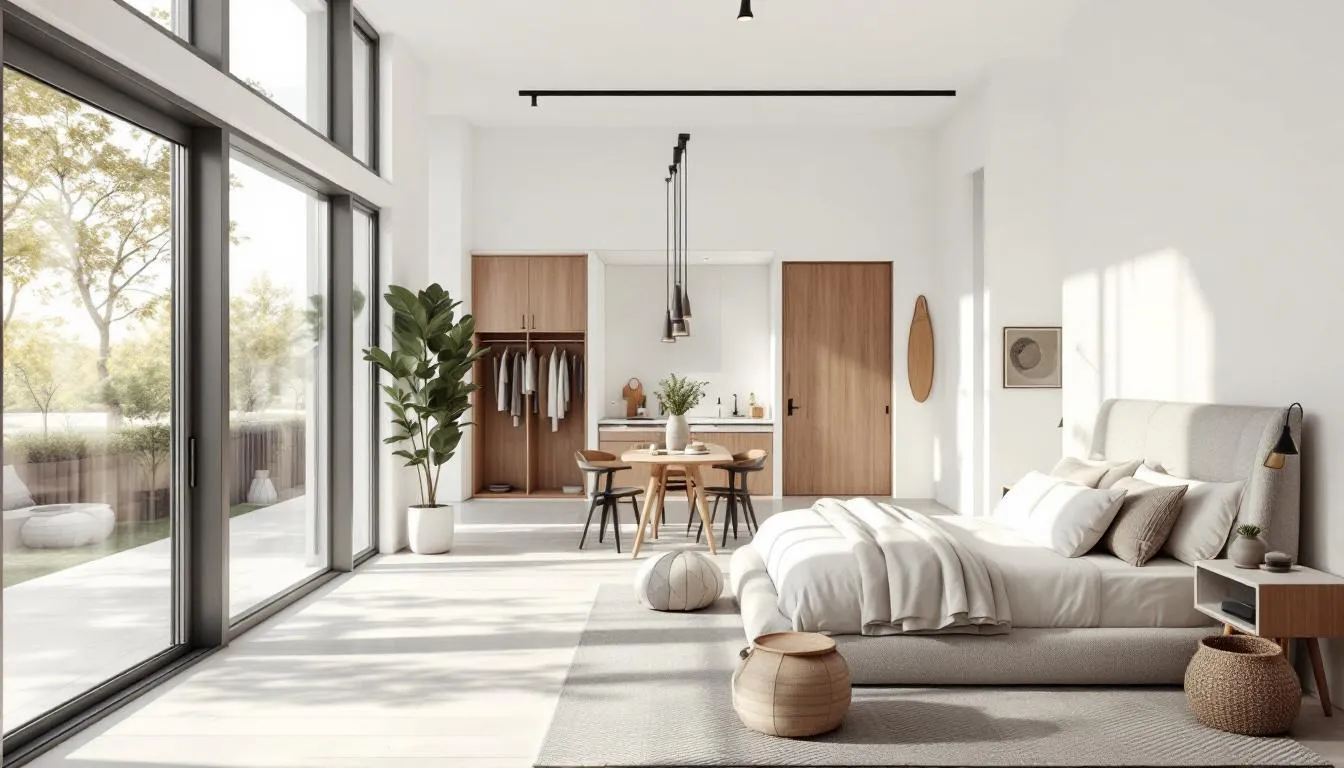
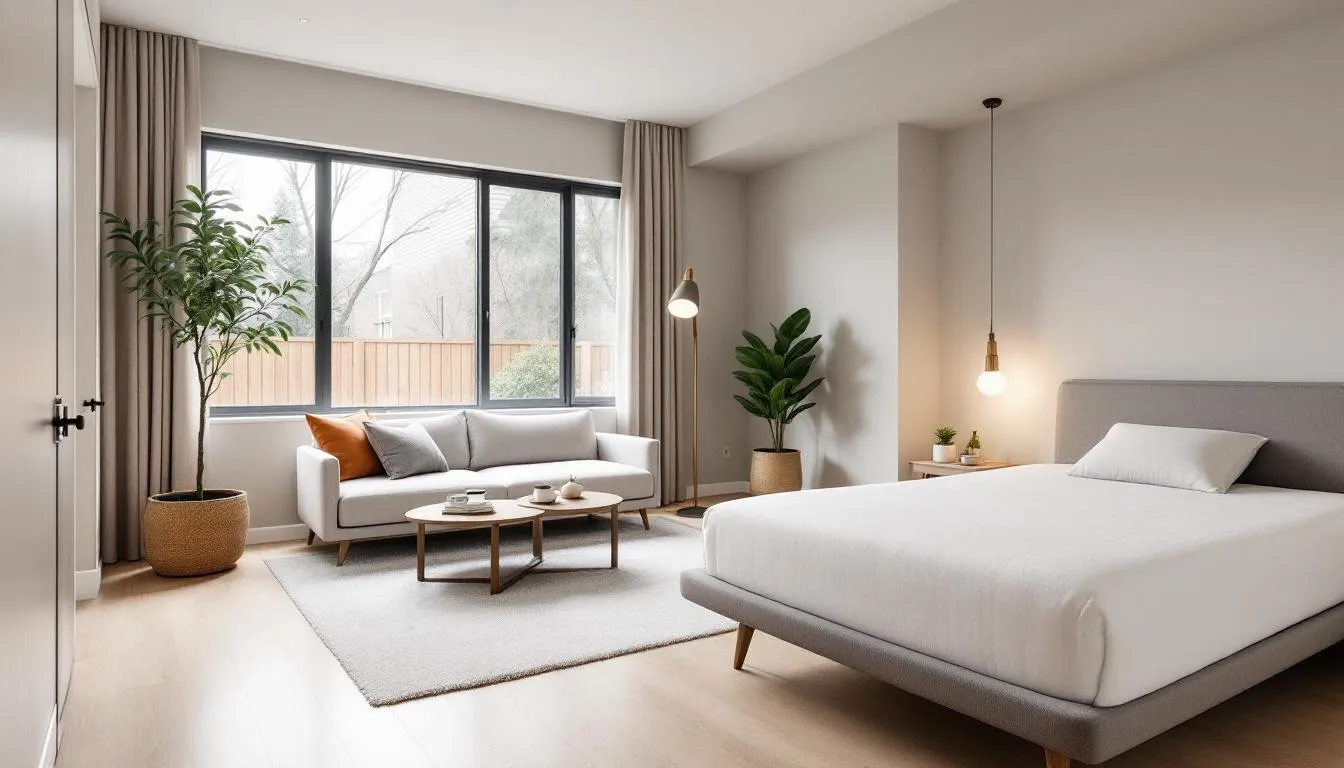
Designing Your Basement Layout
Designing your basement layout is where the fun begins. Consider design factors like versatility, storage needs, and lighting to enhance your basement layout. An open layout can improve airflow and create a more spacious feel.
Increasing natural light can be achieved by:
- Enlarging existing windows or adding new ones.
- Using light colors on walls to brighten the space.
- Implementing layered lighting, including recessed lights and task lighting, to significantly improve illumination in a basement space.
Built-in shelving units and cabinets are effective storage solutions to maintain an organized basement. Built-in furniture can enhance functionality while keeping the basement tidy.
Creating a designated kids’ area or play zone can make the basement more family-friendly and organized. Incorporating multi-purpose areas maximizes the utility of your basement, catering to various activities.
With these design tips, you can transform your basement into a versatile and functional dream basement living space.
Insulating Basement Walls
Proper insulation is key to a comfortable and energy-efficient basement. How much insulation foam insulation polystyrene foam board insulation is recommended for basement walls due to its lightweight nature and ease of installation. Proper insulation can lead to savings of 10-30% on energy bills annually and effectively manages moisture levels, crucial for preventing mold and musty odors. Additionally, polystyrene insulation plays a significant role in enhancing overall energy efficiency.
Install foam board insulation boards using moisture-resistant XPS, secured with foam-specific construction adhesive. Seal all seams with Tuck Tape and consider a vapor barrier to prevent moisture seepage.
Improper insulation of basement walls can lead to toxic mold growth and inadequate performance, underscoring the importance of using the right materials and techniques.
Framing Basement Walls
Framing your basement walls is a crucial step in creating a finished space. Use pressure-treated lumber, masonry screws, and concrete screws for constructing wall frames. To install pressure treated lumber, the bottom plate should be pressure-treated lumber to resist moisture damage.
To construct wall frames:
- Use a top plate, bottom plate, and vertical studs spaced every 16 inches.
- Fasten the bottom plate to the floor using construction adhesive.
- Place fasteners every 6 feet along the bottom plate.
- Ensure the lumber for framing the walls is straight, flat, and without warps or twists.
- Install wall framing by constructing the wall sections flat before lifting them into place for easier assembly.
Plumb the wall regularly using a level to ensure it is upright and secure during construction. When attaching the top plate, check the joists above to ensure proper placement. The purpose of wall framing is to provide a surface for drywall and other materials.
Installing Electrical and Plumbing Systems
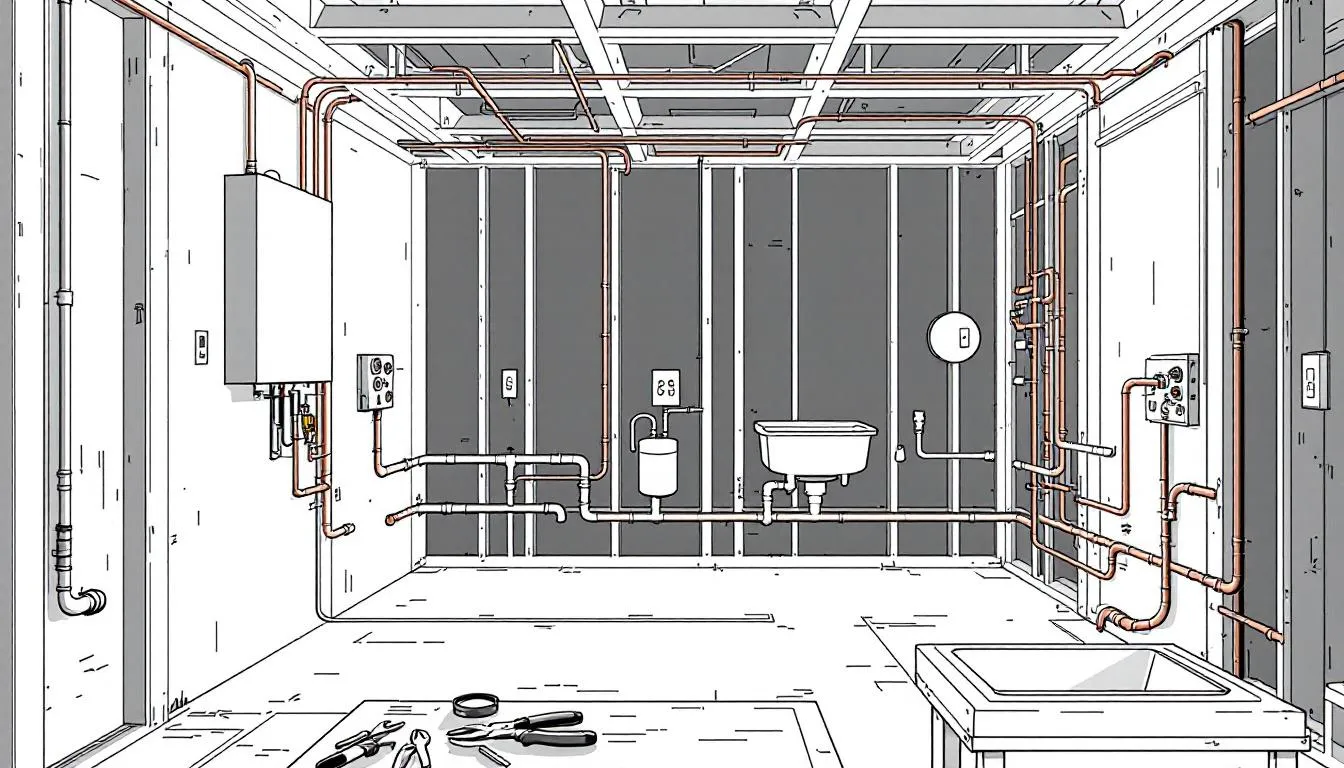
To ensure a smooth remodeling process and save time and money:
- Plan and install electrical wiring and install plumbing systems before finishing walls.
- Ensure compliance with building codes when installing electrical and plumbing systems.
- Addressing these systems early can save time and resources.
Hire certified professionals for the installation of electrical or plumbing systems to ensure safety and compliance. For complex tasks such as major electrical work or plumbing, it is advised to hire licensed professionals.
It’s important to have a licensed electrician check your basement’s electrical system to support the load of a finished space. If you’re not familiar with basic electrical theory, it’s best to hire a licensed electrician or have a professional inspect your work.
Before running electrical wires, draw out the path for wires using blueprints to ensure proper layout. When preparing for wire placement, drill holes for wires in studs an inch from the rear to ensure proper installation.
Drywall Installation
Drywall installation is a pivotal step in transforming your basement into a finished space. Start by measuring the space and planning the starting point for hanging drywall sheets. Accurate measurements ensure that the drywall fits perfectly and minimizes waste.
To install drywall sheets:
- Cut drywall sheets according to your measurements.
- Cut openings for electrical outlets and light switches before installation.
- Install the drywall sheets to the framed walls using drywall screws.
- Secure the drywall by driving screws just below the surface without breaking the paper cover.
- Stagger the joints for structural integrity and a smoother finish using adhesive install sheets. Installing drywall correctly ensures a professional look.
Once the drywall is in place, follow these steps to attach drywall:
- Apply drywall tape to the seams.
- Use joint compound in thin layers to achieve a smooth finish.
- Repeat the mudding process, which may require several layers.
- Sand in between layers to ensure a seamless look.
With the drywall panels securely in place and finished, your basement walls will start to take on a polished, professional appearance.
Ceiling Installation Options
Your basement’s ceiling plays a crucial role in both aesthetic and functionality, with two main options: drywall ceilings and drop ceilings. A drywall ceiling is commonly used in basements, providing a smooth and finished ceiling surface. Installing a drywall ceiling typically requires a T-brace or a drywall jack to assist with solo work. The basement ceiling can significantly enhance the overall look of the space.
Alternatively, a drop ceiling installation, or suspended ceiling, is created using a plastic grid system of metal or plastic holding removable panels. This option offers several benefits:
- Allows for easy access to utilities above
- Comes in various styles, including sound-blocking tiles
- Bright drop ceiling panels can enhance light reflectance, creating a more open feel in your basement.
When choosing between drywall and drop ceilings, consider the needs of your space in terms of aesthetics and utility access. Both options offer unique benefits; select the one that aligns with your remodeling goals.
Flooring Solutions for Basements
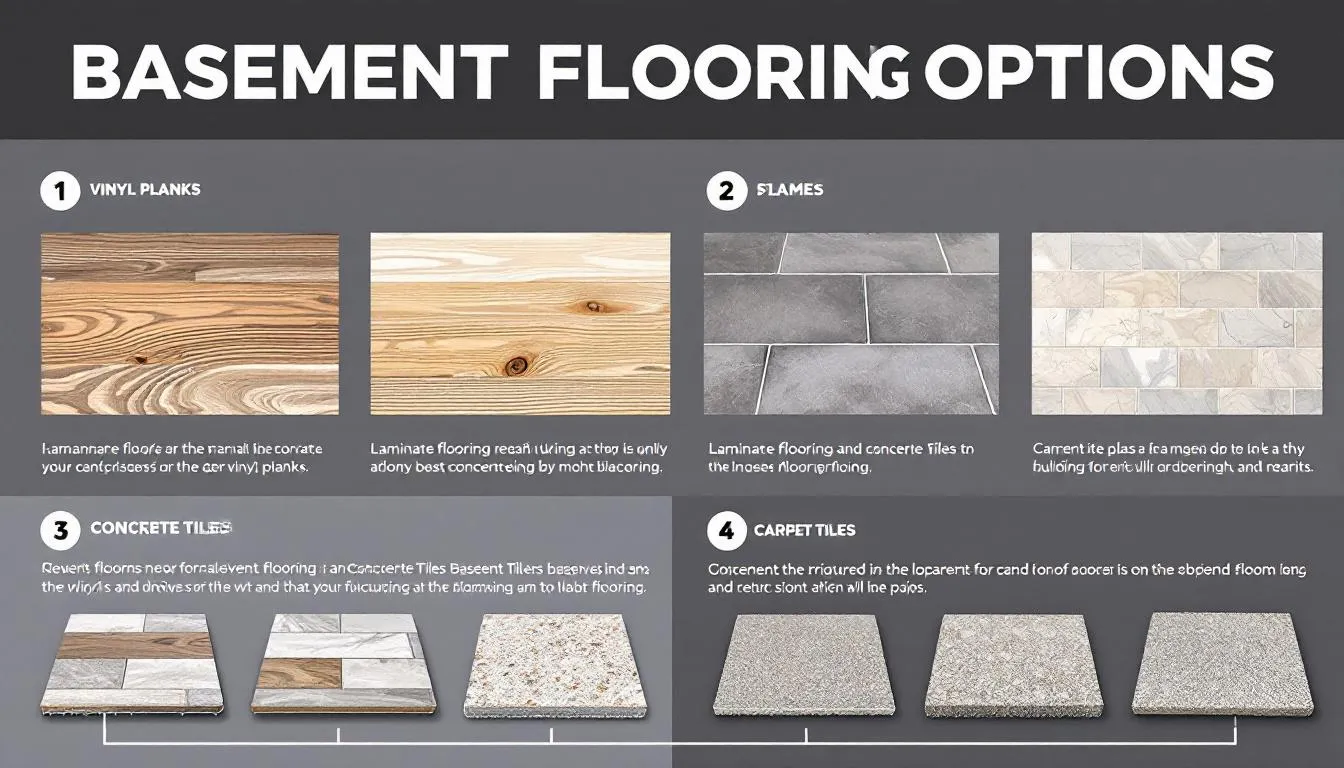
Selecting the right flooring is essential for a functional and durable basement. When choosing flooring, consider the following priorities:
- Invest in durable materials to withstand moisture and heavy foot traffic.
- Prioritize moisture resilience to prevent mold growth.
- Maintain a healthy environment through appropriate concrete floor choices.
Vinyl plank flooring is often recommended for basements due to its water resistance and durability. It’s easy to install and comes in a variety of styles to match your aesthetic preferences. If you prefer a softer feel, low-pile carpets paired with moisture-resistant padding are suitable options. This combination offers comfort while still being practical for a basement environment.
Consider the needs of kids or pets when selecting flooring. Low-maintenance and durable options like vinyl or rubber flooring can be ideal. Rubber flooring provides comfort and durability while being easy to clean, making it a great choice for play areas or home gyms.
Surprisingly, 57% of basement floor flooring projects involve carpet or laminate, reflecting their popularity and practicality. Choose the flooring that best meets your family’s needs and complements your overall basement design.
Painting and Finishing Touches
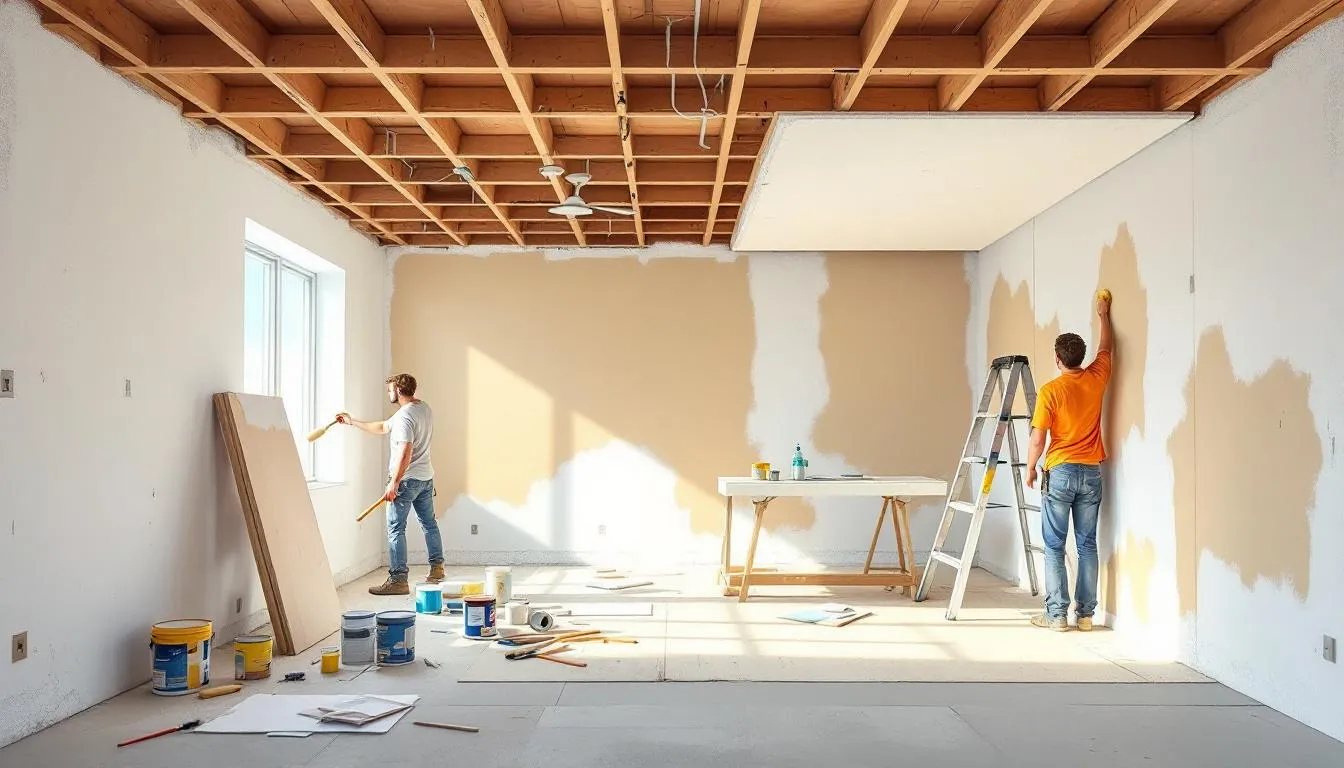
Painting and finishing touches are what truly bring your basement to life. Applying a primer before painting ensures better adhesion and coverage, a crucial step for achieving long-lasting results.
Before painting drywall:
- Check for visible blemishes on the drywall surface.
- Address imperfections with joint compound and sand them smooth to ensure a flawless finish.
- When painting, avoid outlets, switches, and light fixtures to keep them clean and functional.
Using reflective and bright colors in the basement can help to promote a sense of openness and warmth. Lighter colors can make the basement feel larger and more inviting, which is especially important in spaces lacking natural light.
Once the paint is dry, add trim and molding to enhance the overall aesthetic of your basement. Baseboards and window trim are recommended elements to add for finishing touches. Nail the trim in place with a nail gun for secure installation, and use wood putty to fill gaps and nail holes for a polished look.
After completing the painting and finishing a basement, your basement finishing project will boast a cohesive and inviting appearance.
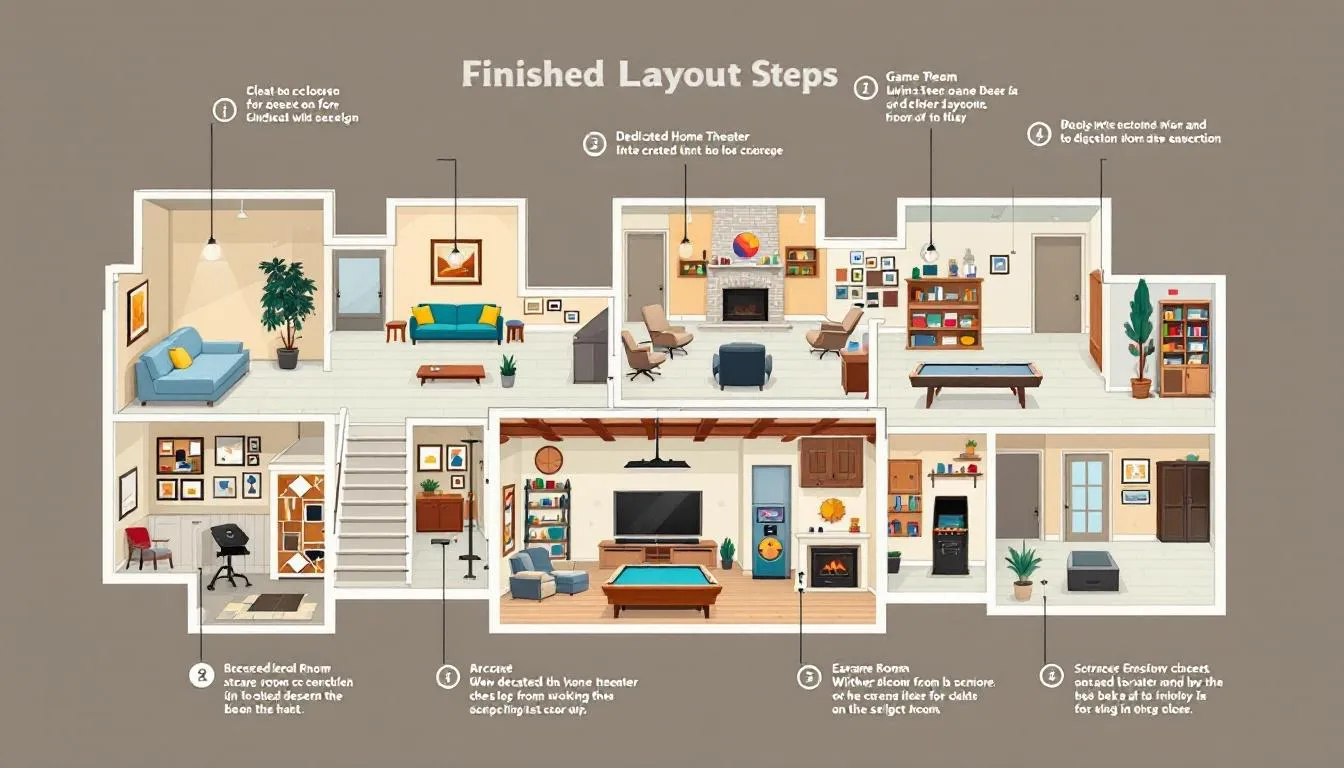
Decorating and Furnishing
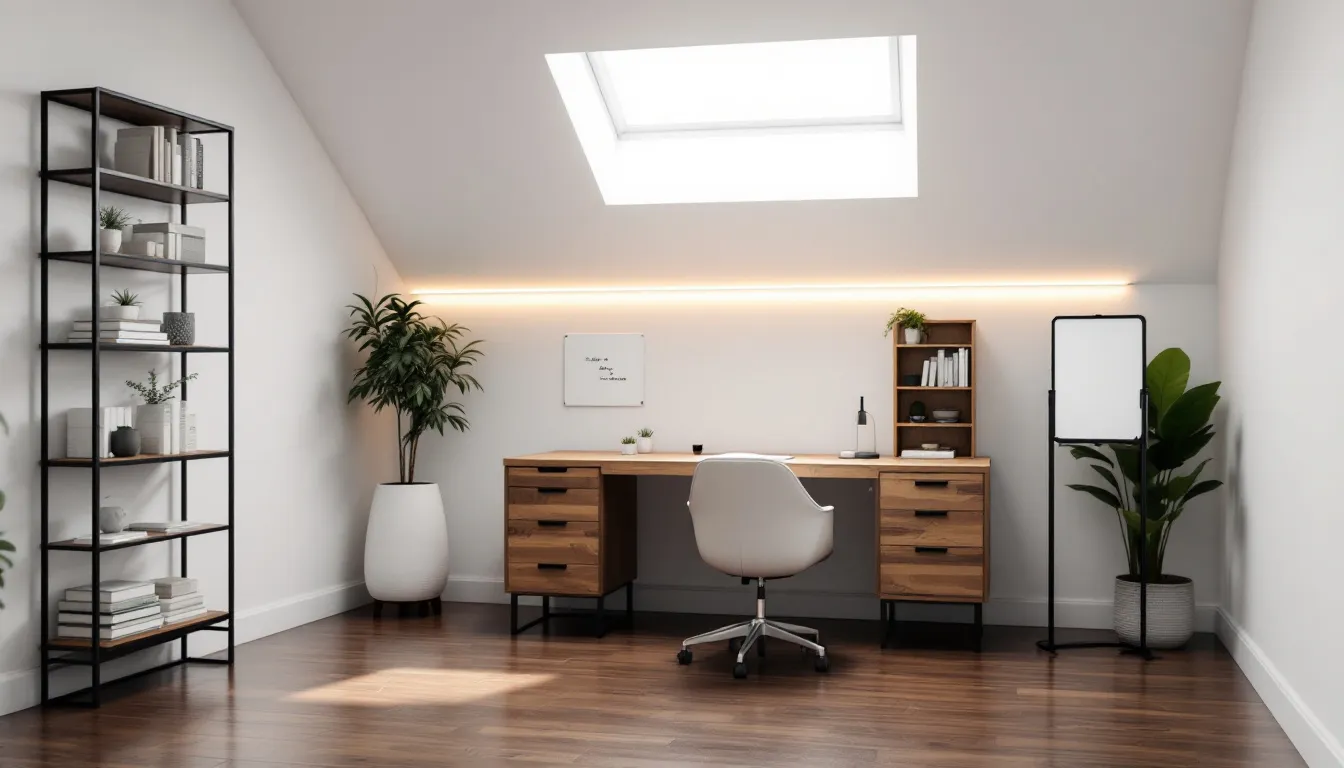
Now that the structural work is complete, it’s time to decorate and furnish your finished basement. A basement can serve various purposes such as:
- a home office
- a theater
- a gym
- a game room The focus should be on comfort, functionality, and aesthetics to create a space that you and your family will enjoy.
Personalizing your basement involves adding:
- Furniture
- Decorations
- Lighting
- Personal touches
Consider incorporating a home bar to transform your basement into an entertaining hub, perfect for social gatherings.
Experimenting with bold colors and patterns in decor can add character and a unique touch to the basement. Incorporating artwork can create a gallery-like atmosphere, enhancing its visual appeal.
Remember, utilizing light paint colors can help brighten a basement, especially in spaces lacking natural light. With thoughtful decoration and furnishing, your basement will become a versatile and stylish extension of your home.
Maintenance and Upkeep
Regular maintenance routines are crucial for maintaining the condition of your basement. Regular inspections and maintenance of basement insulation are necessary to prevent moisture damage and mold growth. This ensures the longevity of your finished space.
Regularly clean and maintain your dehumidifier to manage humidity levels efficiently and effectively in your basement.
Ensure correct grading around your foundation to direct water away from your basement, a vital step in protecting against water intrusion.
Be vigilant for signs of moisture appears or water intrusion, such as visible water, dampness, and musty odors. Addressing these issues promptly can prevent extensive damage and costly repairs using moisture resistant materials while monitoring the temperature and moisture level and ensuring proper ventilation.
Regularly inspect your window wells. Clear them of debris to prevent water accumulation. To maintain moisture control in your basement, regularly clean gutters and ensure they are functional.
Summary
In summary, planning a basement remodel from start to finish involves several crucial steps. From the initial assessment and budgeting to addressing moisture issues and designing your layout, each phase is essential in creating a functional and beautiful space. By following this step-by-step guide, you can transform your basement into a valuable part of your home.
Remember, a successful basement remodel requires attention to detail and proper planning. With patience and careful execution, your dream basement is within reach. Happy remodeling!
Ready to work with Basement Remodeling Long Island?
Let's connect! We’re here to help.
Send us a message and we’ll be in touch.
Or give us a call today at 646-801-1701
Agency Contact Form
More Marketing Tips, Tricks & Tools